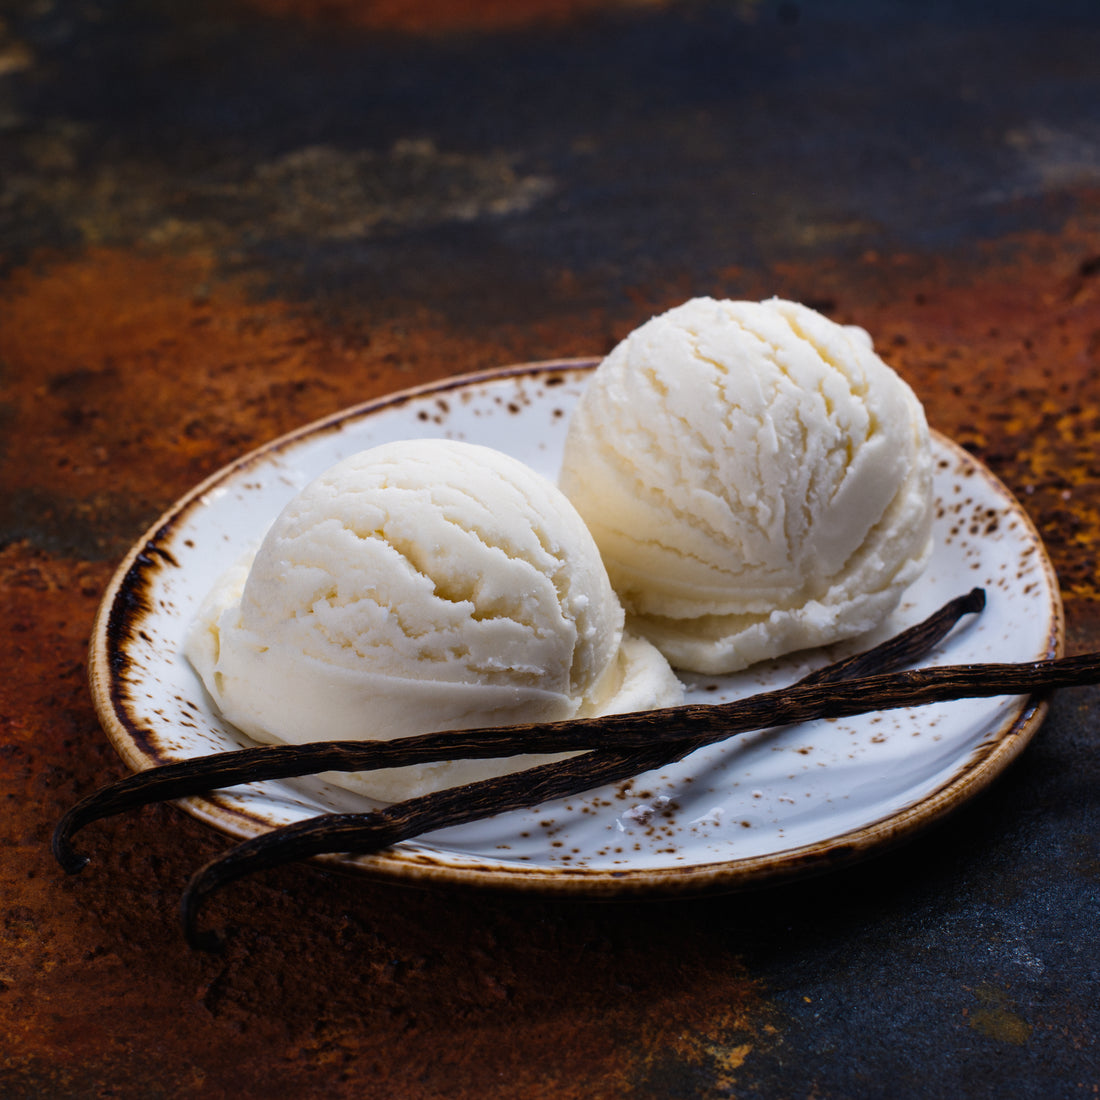
How to Make the Best Homemade Vanilla Ice Cream
Share
Vanilla ice cream is a timeless dessert beloved by people of all ages. With its creamy texture and delicate flavor, it’s a staple in households and dessert menus worldwide. Making homemade vanilla ice cream allows you to savor the pure, rich taste of fresh ingredients. In this comprehensive guide, we will walk you through the steps to create the perfect batch of vanilla ice cream in your own kitchen.
Why Make Vanilla Ice Cream at Home?
Crafting vanilla ice cream at home ensures you have full control over the quality of ingredients, flavor profile, and texture. Homemade ice cream is free from artificial additives and preservatives commonly found in store-bought options. Plus, the process of making it is both rewarding and customizable, allowing you to experiment with flavors and toppings.
Ingredients for Homemade Vanilla Ice Cream
To create a batch of authentic vanilla ice cream, you will need the following ingredients:
-
2 cups heavy cream
-
1 cup whole milk
-
¾ cup granulated sugar
-
4 large egg yolks
-
1 vanilla bean or 2 teaspoons pure vanilla extract
-
A pinch of salt
Why These Ingredients Matter
-
Heavy Cream and Whole Milk: These provide the creamy texture essential to premium ice cream.
-
Granulated Sugar: Ensures the perfect balance of sweetness and enhances the overall flavor.
-
Egg Yolks: Add richness and contribute to the smooth texture.
-
Vanilla Bean/Extract: The star ingredient, giving the ice cream its signature taste.
-
Salt: Balances the sweetness and enhances the vanilla flavor.
Step-by-Step Guide to Making Vanilla Ice Cream
Step 1: Prepare the Vanilla Base
-
Split and Scrape the Vanilla Bean: If using a vanilla bean, split it lengthwise and scrape out the seeds with a knife. Combine the seeds and pod with the heavy cream and milk in a medium saucepan.

-
Heat the Mixture: Warm the cream and milk mixture over medium heat until it begins to steam. Do not let it boil.
Step 2: Whisk the Egg Yolks and Sugar
-
In a separate bowl, whisk the egg yolks and sugar until the mixture is pale and slightly thickened.
-
Gradually add a ladle of the warm cream mixture to the egg yolks, whisking constantly. This step, called tempering, prevents the eggs from curdling.
Step 3: Cook the Custard
-
Pour the tempered egg mixture back into the saucepan.
-
Cook over low heat, stirring constantly with a wooden spoon or heatproof spatula. The custard is ready when it coats the back of the spoon and reaches a temperature of 170-175°F (77-80°C).
Step 4: Chill the Base
-
Strain the custard through a fine-mesh sieve into a clean bowl to remove the vanilla pod and any cooked egg bits.
-
Cover the bowl with plastic wrap, pressing it directly onto the surface of the custard to prevent a skin from forming.
-
Refrigerate for at least 4 hours or overnight for the best results.
Step 5: Churn the Ice Cream
-
Pour the chilled custard into an ice cream maker and churn according to the manufacturer’s instructions. This typically takes 20-30 minutes.
-
Transfer the churned ice cream to an airtight container and freeze for 2-4 hours to firm up.
Step 6: Serve and Enjoy
Scoop your homemade vanilla ice cream into bowls or cones. Garnish with fresh berries, chocolate sauce, or crushed cookies for an extra touch.
Tips for Perfect Vanilla Ice Cream
-
Use High-Quality Ingredients: The quality of your cream, milk, and vanilla directly impacts the final flavor.
-
Don’t Rush the Chilling Process: Allowing the custard to chill fully ensures a smoother texture.
-
Experiment with Add-Ins: Swirl in caramel, mix in chocolate chips, or fold in crushed nuts for a creative twist.
-
Store Properly: Keep your ice cream in an airtight container to prevent ice crystals from forming.
Troubleshooting Common Issues
Ice Crystals in Ice Cream
To prevent ice crystals, ensure the custard is thoroughly chilled before churning and store the ice cream in a tightly sealed container.
Custard Too Thick or Curdled
Cook the custard over low heat and stir constantly to avoid overheating. Straining the mixture helps remove any curdled bits.
Weak Vanilla Flavor
Always opt for high-quality vanilla beans or pure vanilla extract for the best flavor.
The History and Versatility of Vanilla Ice Cream
Vanilla ice cream has a storied history, originating as a luxurious treat in the 17th century. Its simplicity makes it the perfect base for countless desserts, from sundaes to milkshakes and even affogatos. Its neutral flavor profile also complements a wide array of toppings and mix-ins, making it a versatile favorite.
Conclusion
Homemade vanilla ice cream is a culinary delight that combines simplicity with indulgence. By following this guide, you can create a creamy, flavorful dessert that rivals any store-bought brand. The process is as enjoyable as the result, offering a satisfying way to connect with the timeless joy of ice cream.


